
Microsoft Dynamics
The Autoaddress functionality can be easily added to a Microsoft Dynamics form by integrating our Javascript control and CSS.
Pre-Requisites
Autoaddress JavaScript Files
To get started, download our JavaScript and CSS files from our GitHub here. For instructions how how to download the files, follow this guide.
On-Premise vs Dynamics 365
If using Dynamics 365, follow our Dynamics 365 instructions.
The “AutoaddressContact” file that you downloaded needs to be edited if you are running an on-premise version of Dynamics. Open the file using a text editor. In the file, there are numerous lines containing “window.parent”, such as the code shown below.
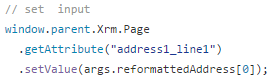
Every instance of “window.parent” must be removed as well as any “.” That comes after. For example, the code shown above will become:

Latest Compressed JQuery
The latest JQuery file is also needed. To get this, go to http://jquery.com/download/.
Download the latest compressed, production version such as the following:

Adding Autoaddress Control to your form
We will add the Autoaddress Control to your existing Contacts form. Hover over the Sales tab until the drop-down menue appears and click the "Contacts" button.

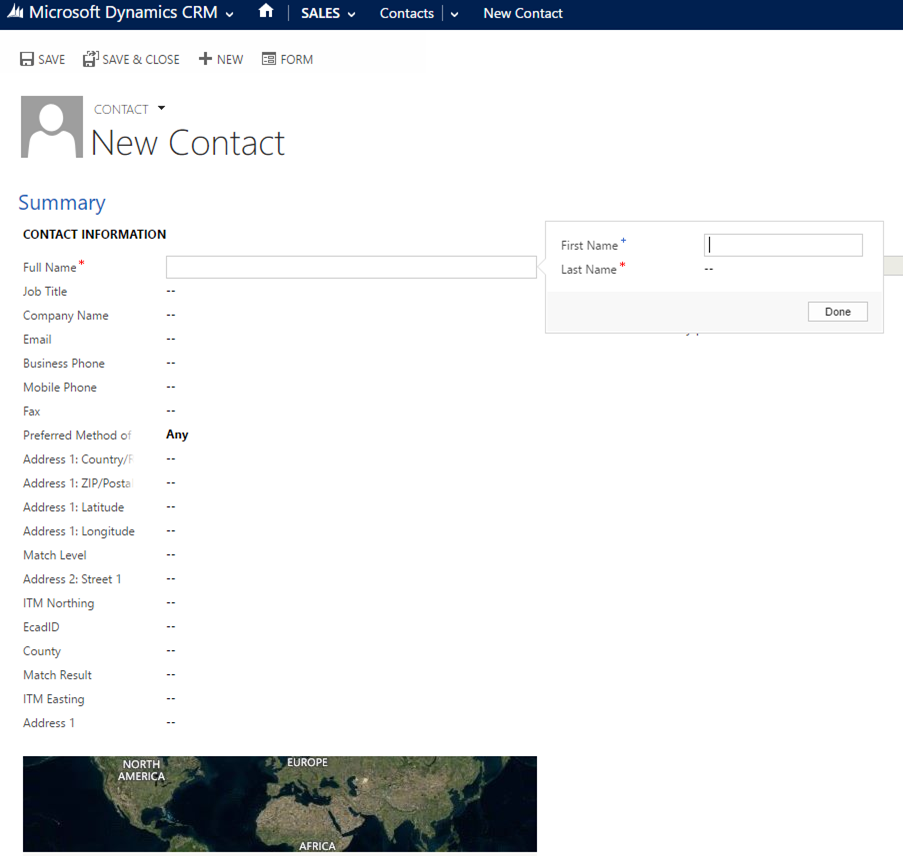
This will open a page like below:

From here click the “+ New” button to open the Contact form. When the Contact form has opened click the “Form” button at the top of the page as seen below:
Clicking on the "Form" button will open the form editor and it will look like the following screen:
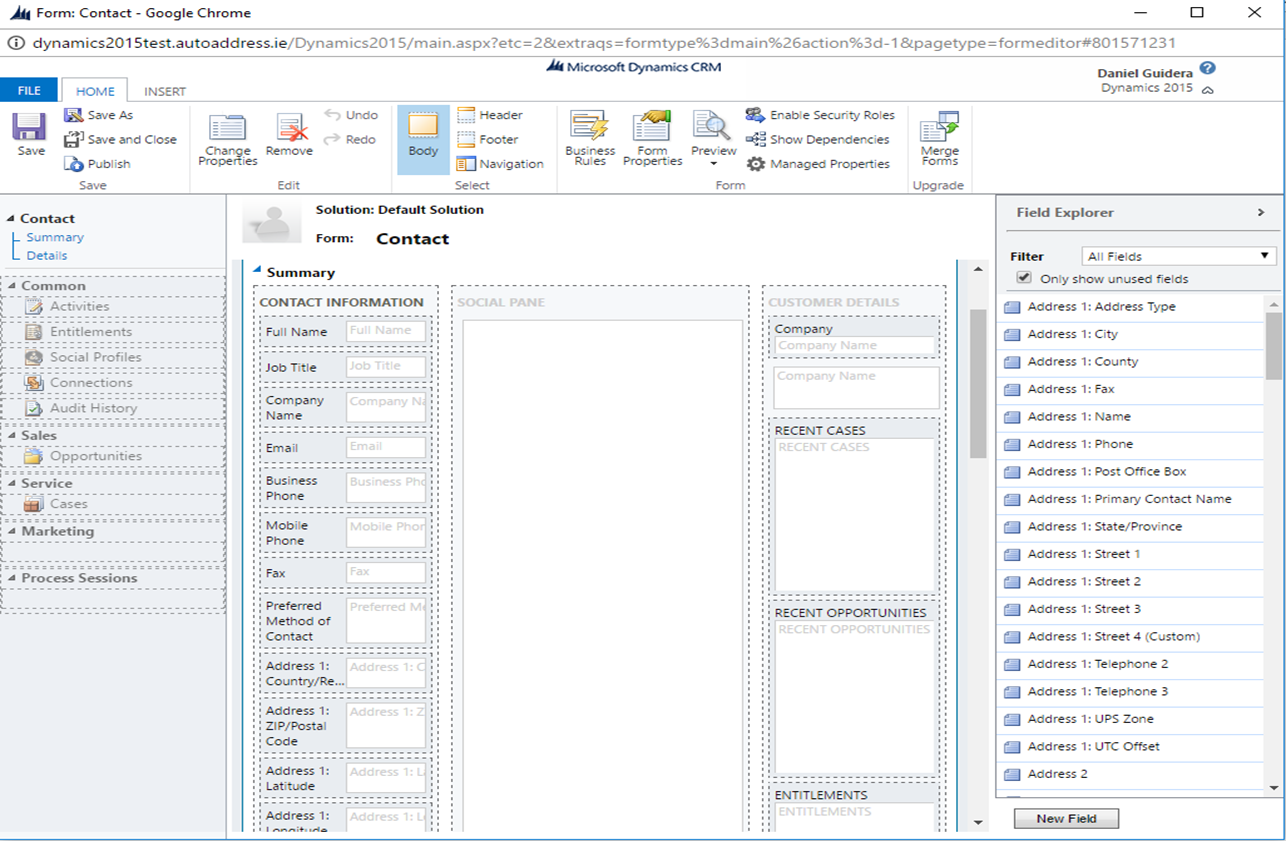
The next step is to add the necessary JavaScript files that were downloaded as part of the pre-requisites. To do this, click the “Form Properties” button which will open a window like this:
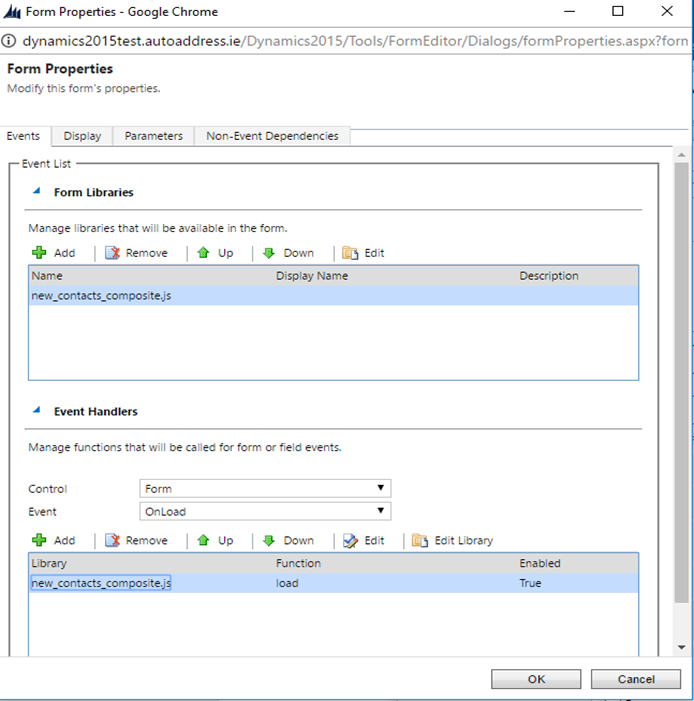
In the “Form Libraries” list, select “new_contacts_composite.js” and click the “remove” button. Next, click the “Add” button to open the “Look Up Record” window.
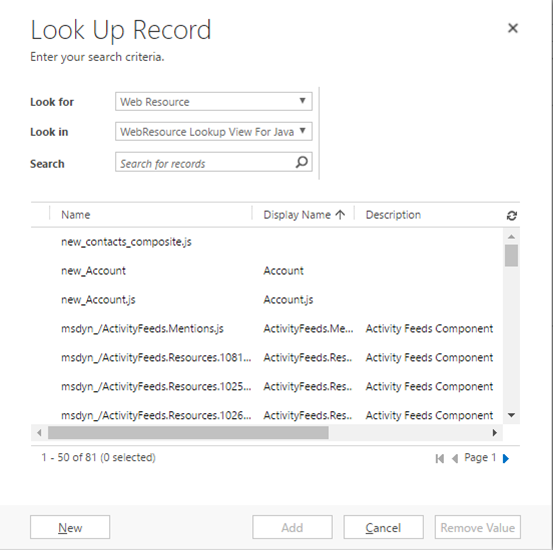
At the bottom of this window is a button labelled “New”. Click this button to open the “Web Resource: New” window.
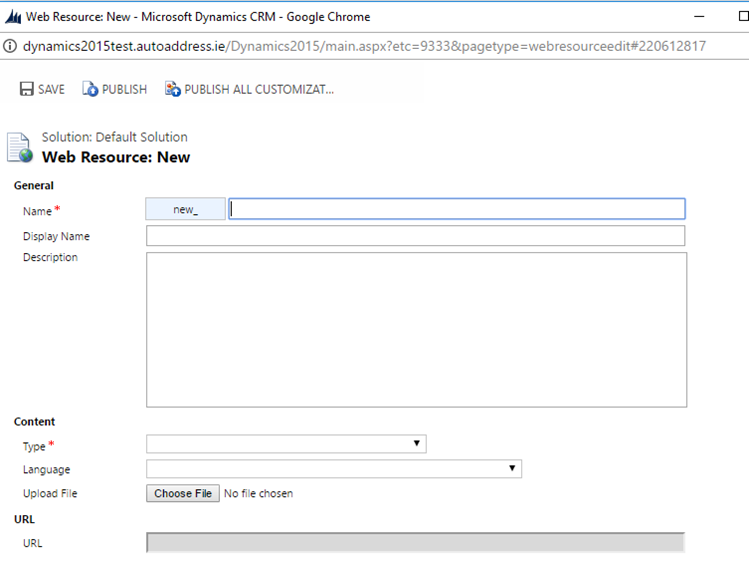
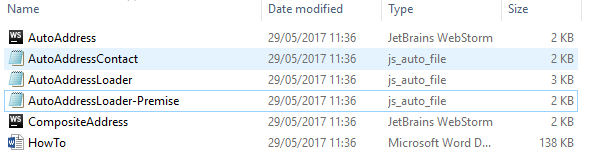
The first file to upload will be the loader file. Give it the “Name” and “Display Name” of “AutoaddressLoader” and set the type to be “Script(Jscript)” Next click the “Choose File” button to open a Windows Explorer window and navigate to where you have stored the repository. There are two loader files included in the repository downloaded earlier. If the Dynamics site is being hosted on premises, use the file named “AutoaddressLoader-Premise”. If hosted off-site, select the “AutoaddressLoader” file.
Next, click the “Save” button at the top of the page and close the web resource window when complete. The new file will now be populated in the “Look Up Record” Window list. Select it and click the “Add” button. This will close the look up window and populate the “Form Libraries” list in the “Form Properties” window with the new script. It will look like this:

Repeat to upload the "AutoaddressContact" and latest JQuery files. Once all the files have been uploaded, the “Form Libraries” should like this:
Ensure the JQuery file is top of the list. If it’s not, select it and click the “Up” button until it is at the top.
Setting the OnLoad Event
The OnLoad event tells the form what scripts to run when it is initially loaded. In the “Form Properties”, look at the “Event Handlers” list.
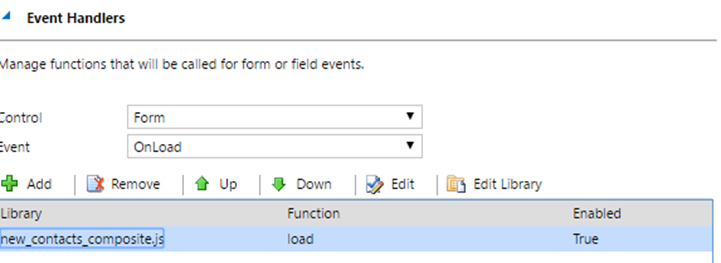
Select the value already present and click the “Remove” button to delete it. Then click the “Add” button. This will open the “Handler Properties” window. Fill out the form as shown below:
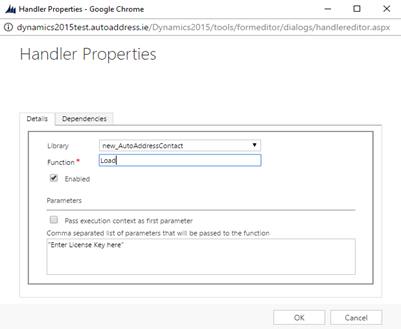
Enter your license key surrounded by inverted commas into the text box at the bottom (For more information on license keys, see Configuration Options. Click the “OK” button.
The “Event Handler” list will now look like this:

Close the “Form Properties” window.
Saving and Publishing the Form
Now the form needs to be saved and published. The ability to do that can be found in the top left of the contact form window.
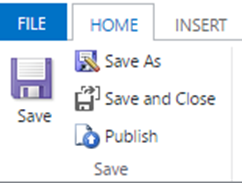
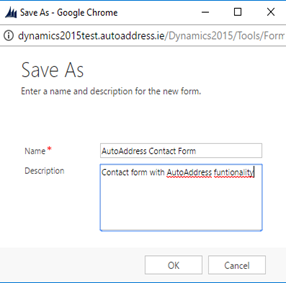
Clicking the “Save” button will overwrite the default contact form. If you want to keep the default form, click “Save As” and give the form a new name.
Next, click the “Publish” button so the new form can be used.
Testing the Form
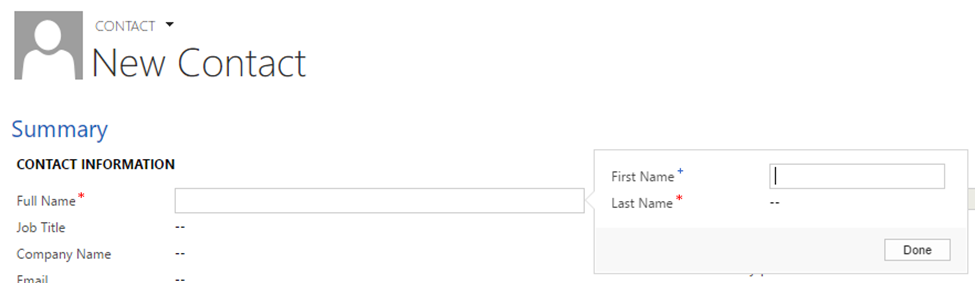
To open the new form, open the new contact page again. A first and last name are required before the other form controls can be used. Fill in a first and last name.
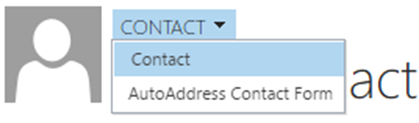
If you have saved a new form, click the "Contact" button to show a drop-down list of your saved Contact forms.
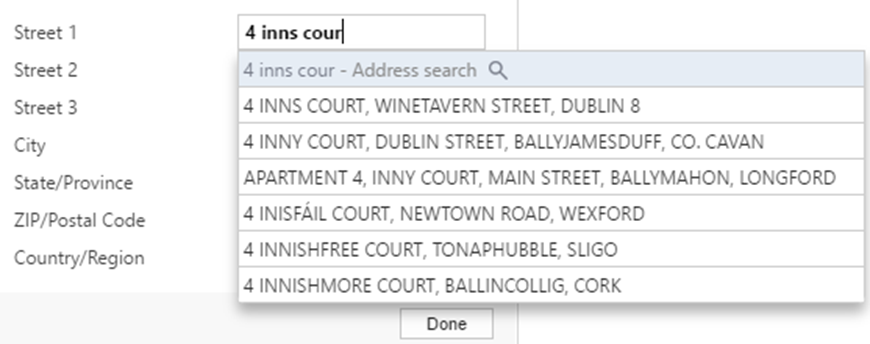
Next, find the field “Address 1” under “Contact Information”. Click the text box. A pop up box with address fields should open as shown below. Start entering an address into the “Street 1” text box and suggestions should appear based on what has been entered.

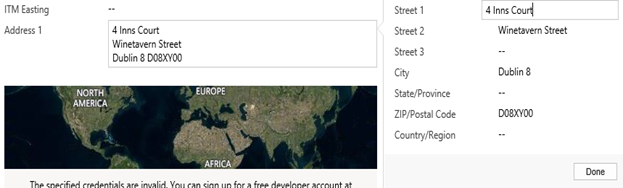
When you choose the correct address it populates the fields.
Applying CSS Styles
It’s possible to add CSS to a form to give it a custom look. A file named “CompositeAddress” was downloaded as part of the repository download. This is a CSS file that will change how the pop up box looks in the form.
Open the form editor again and click the “Form Properties” button. Follow the steps laid out previously to add the “CompositeAddress” CSS file, this time, clicking the “Publish” button on the “Web Resource: New” window after saving the new file.

If you forget to publish at this point, it won’t be possible to do this in the form editor, as CSS files are not visible here. See previous section on how to publish the file through the Dynamics settings.
After saving and publishing the file, it will be necessary to update the JavaScript files that will be using it. In this case, that would be the “AutoaddressContact” file. If the JavaScript file has not been uploaded yet, it can be edited in a text editor before uploading. However, it is possible to update the file within “Form Properties”. To achieve this, open “Form Properties”, highlight the contact file in the “Form Libraries” list and click the “Edit” button. This will open the “Edit Content” window.
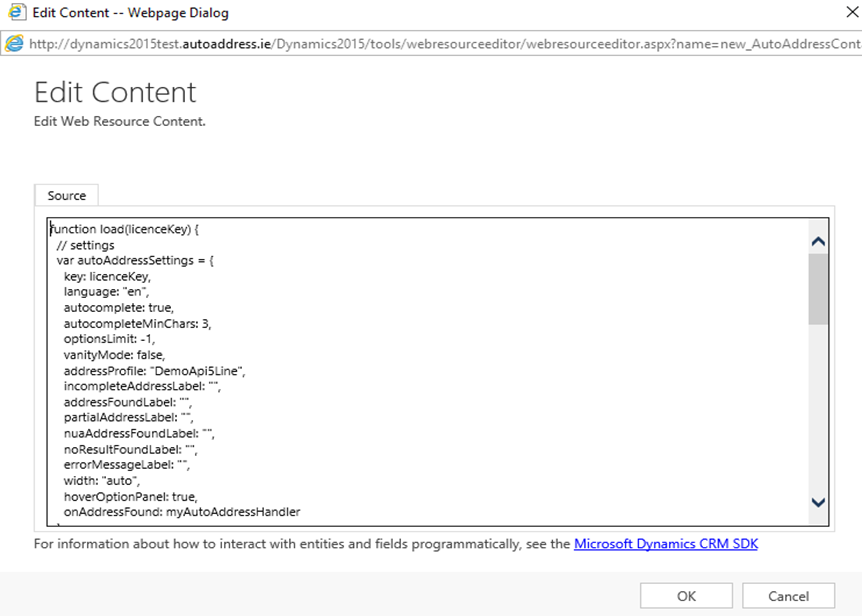
Scroll down through the text until you come across the following:

What we’re interested in here is the line beginning with “var cssName”. On this line, the text surrounded by inverted commas, after the equal sign, is the name of the CSS file that the JavaScript file will look for (This is the name given to the file when being uploaded). In this case the name of the CSS is the same so there is no change but if the name was different then the text within the inverted commas would need to match. Once the change has been made, click the “OK” button to close the window. Close the “Form Properties” window, save the form and click “Publish”.
Now the “CompositeAddress” CSS will be picked up in the contact form. To test, your form should now have changed.
Before:
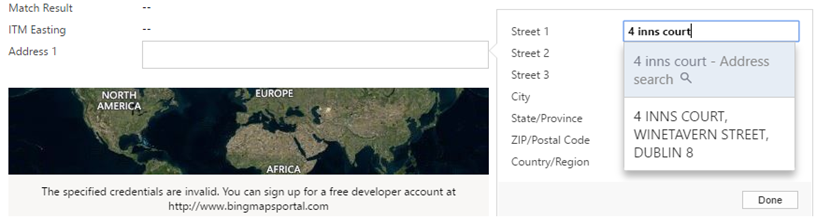
After:
See here for adding CSS files to Dynamics.