
MS Dynamics - Unified Interface
This Power Apps component allows you to add Autoaddress lookup functionality to your Microsoft Dynamics Unified Interface CRM.
For users with on-premises Dynamics solutions using older versions of Dynamics, the Autoaddress plug-in is still available for those versions in the link below.
Unified Interface Plugin Installation Steps
Download the Unified Interface solution by following the instructions here: CRM Integration Files. The required file is in the "Dynamics Unified Interface" folder.
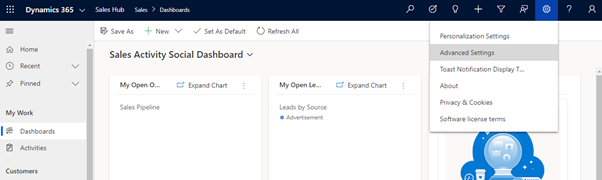
From the dynamics home page select the app you want to add Autoaddress to. Click the settings icon in the top right of the screen. Then select advanced settings:
Click the drop down arrow next to settings in the top menu bar and select “Customisations”:
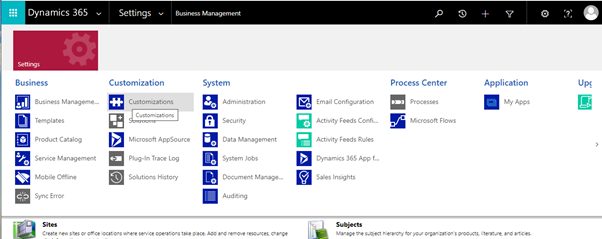
In the Customisation menu select “Customise the System”. This opens Power Apps.
If the classic version opens select “Try new experience”.
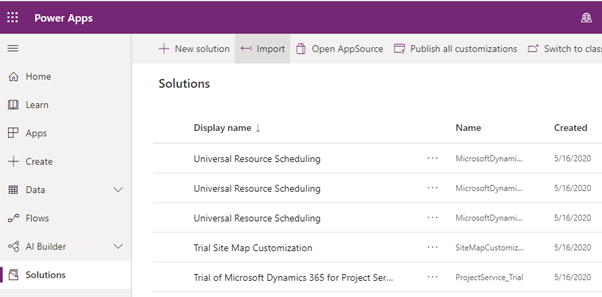
From here select “Solutions“ at the bottom of the left menu then click “Solutions“ at the top of the table to ensure you are in the top level of the menu
Select “Import“ at the top of the page
In the new window that opens, click “Choose file” and select the AutoaddressSolution.zip file downloaded in Step 1
Click “Next”, then click “Import”
If installing over an existing version, the following alert may display. Click "Import" to install the new version.

When the solution is finished importing click “Publish All Customisations”
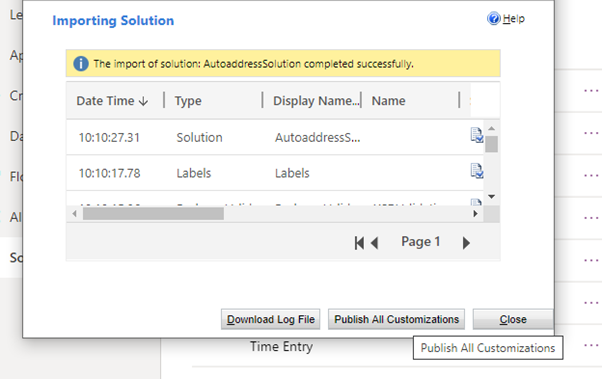
This may take a while. Select “Wait” if “Stopped responding” message appears
Click “Close“ – now the solution is imported. Next the control must be associated with a field
Add to Dynamics Entity
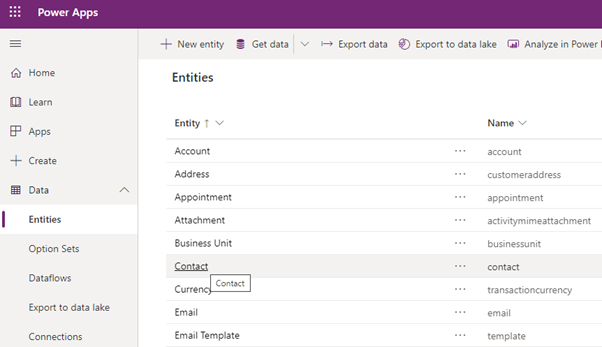
Select the Data dropdown in the left menu of PowerApps
Select “Entities“ then select the Entity with the form you want to attach the plugin to (Contact in this example):
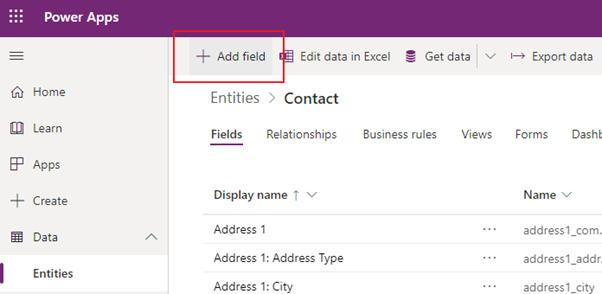
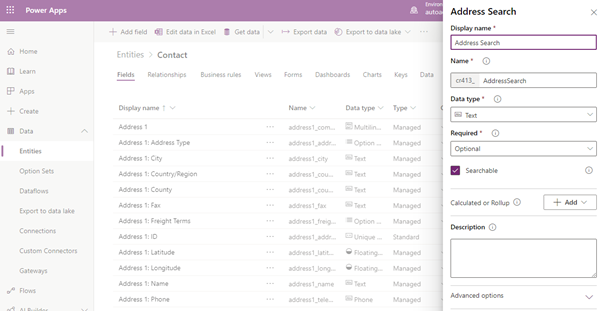
While “Fields“ is the selected tab, click “Add Field“ in the top left. Field properties input should appear.
This is the field we will attach the control to so give it a relevant name such as Address Search. Click “Done“.
Click “Save Entity“ at the bottom right of the screen
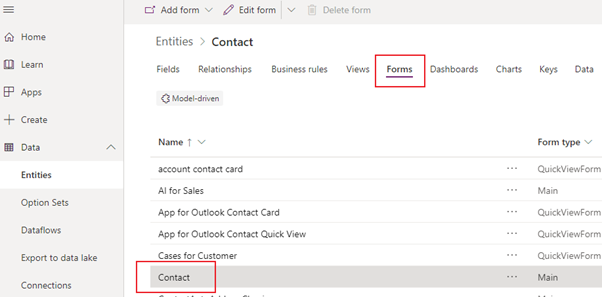
Now select the “Forms“ tab, then select the form you want to attach the plugin to (e.g. Contact):
Select “Switch to Classic” from the top menu bar of the Form page:

Find the newly created field in the fields menu and drag it into the form above the address details:
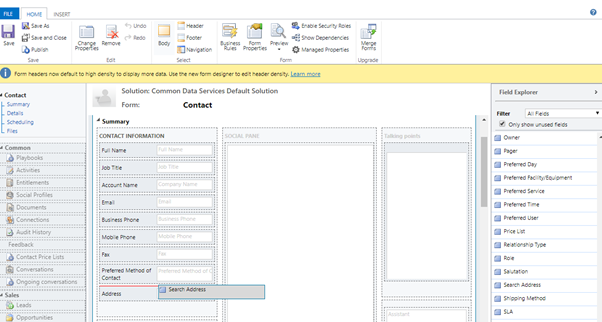
Double click the field you want to attach the control to
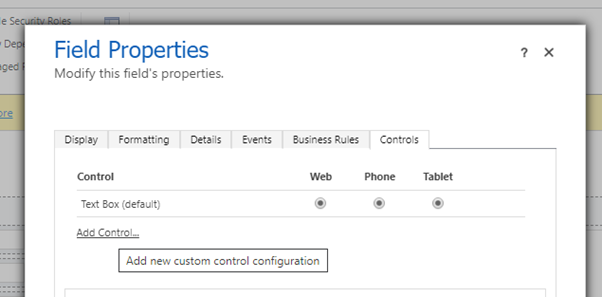
Select “Controls“ tab in field property
Configure the Control
Click “Add control“. Select the “Autoaddress Search Component“ from list
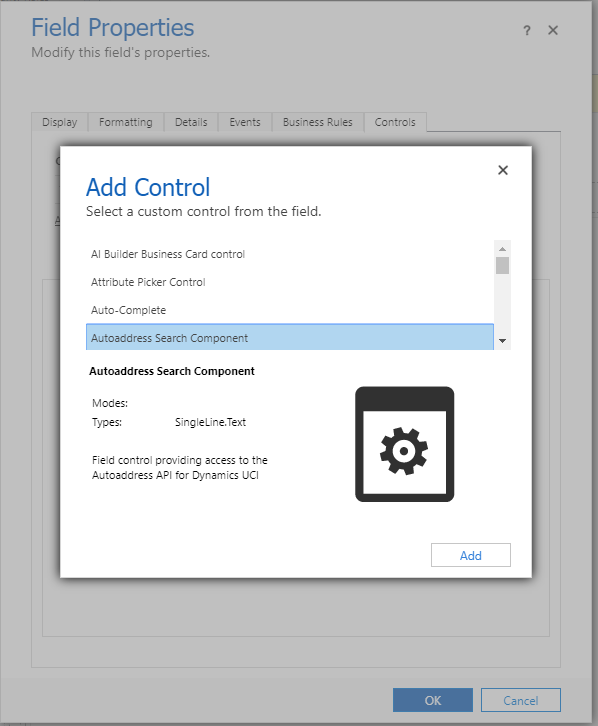
Select formats plugin should appear on (web/tablet/phone)

Select edit icon on API key. Add API key to field. Click ok.
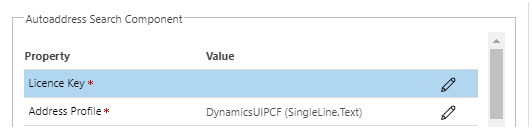
The default country can be set here. The country selection dropdown can also be set to on.

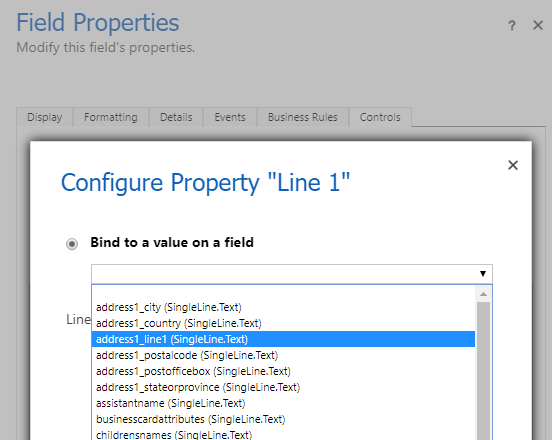
For each of lines 1-5 click the edit icon and select from the dropdown the field you want that line to appear in. Do the same for the Postcode and Country.
Click “Ok“.
Save and publish the form.
Return to the main Dynamics App. Select the Form you added the Autoaddress control to (Contact). Click “New“.
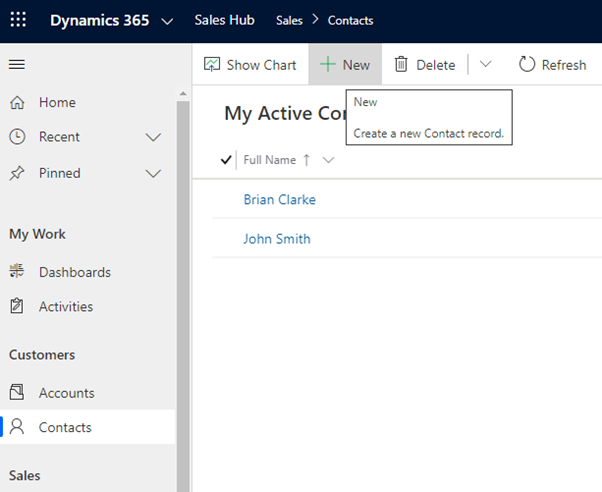
You should see the new field there with “Enter address” message there. Start typing address or enter Eircode to see results.
If the new field does not appear make sure the edited contact form is selected from the drop down